
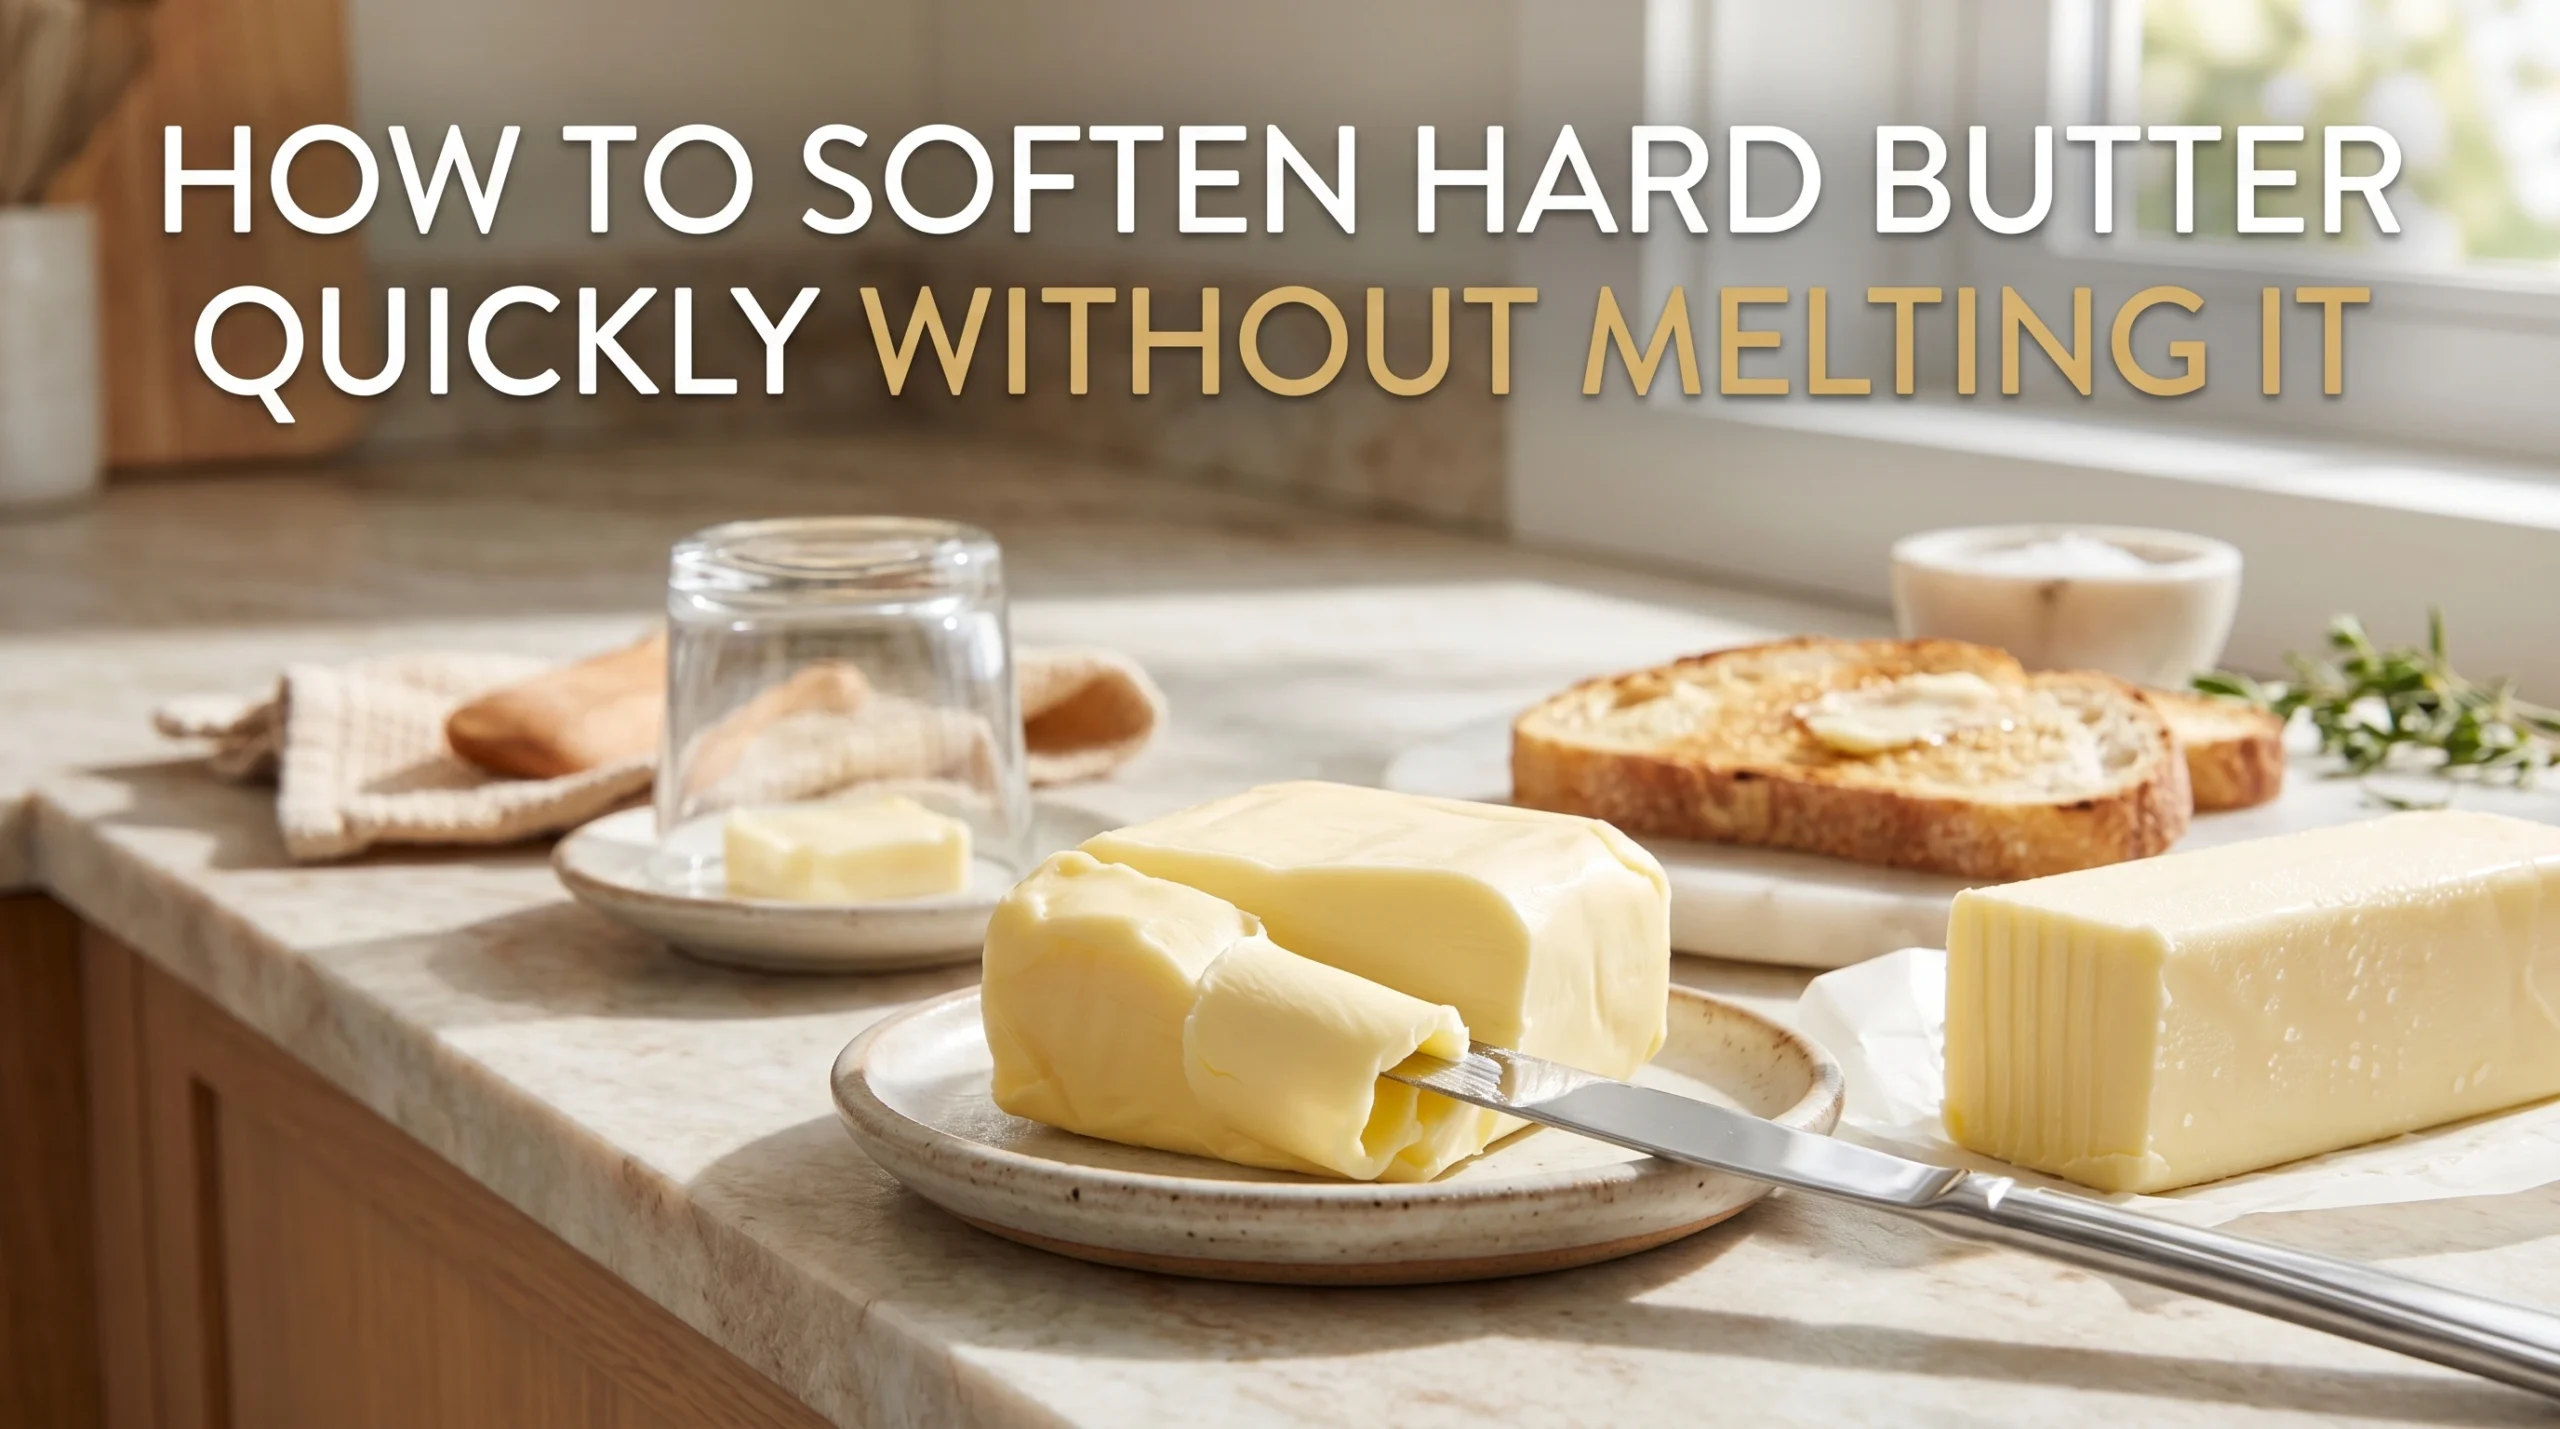
Let me paint a very specific, totally heartbreaking picture for you.
It’s a rainy Sunday afternoon. You’ve got a free couple of hours, a killer craving for chewy chocolate chip cookies, and your favorite baking playlist ready to go. You pull out the flour, the brown sugar, the vanilla extract, and a bag of chocolate chips.
Then, you reach into the fridge for the star of the show.
You grab a stick of butter, and it’s basically a yellow brick. Hard as a rock. Completely un-mixable. Your heart sinks because you know recipes always call for “softened, room-temperature butter,” and getting it there naturally takes at least an hour or two.
If you’re anything like I used to be, your first instinct is to toss that stick onto a plate and chuck it into the microwave. You punch in 10 seconds. You check it. Still hard. You punch in another 10 seconds, turn around to grab an egg, and when you look back, disaster has struck.
Your butter has collapsed into a sad, greasy, half-melted puddle.
I ruined so many batches of cookies and cakes before I realized that melted butter and softened butter are absolutely not the same thing. Once I learned a few simple tricks to soften cold butter quickly without melting it, my baking completely changed.
Here is exactly how I do it now, what works best, and a few mistakes you should definitely avoid.
Why You Can’t Just Use Melted Butter (The Hard Lesson)

Before we get to the hacks, we need to talk about why melting your butter in a panic is such a bad idea. I learned this the hard way when I tried to make a vanilla birthday cake for a friend and ended up with something that resembled a dense rubber tire.
When a recipe asks you to “cream” butter and sugar together, it’s relying on the physical state of the butter. Room-temperature butter is plastic and moldable. As your mixer beats the sugar crystals into the butter, it carves out tiny little air pockets. Those air pockets are what make cakes fluffy and cookies thick and soft.
If your butter is melted, it can’t hold any air. Your baked goods will come out flat, greasy, and incredibly dense.
So, what does “softened” actually mean? If you press your finger into the stick of butter, it should make an indentation easily, but the butter shouldn’t lose its shape or feel warm and greasy. It should still feel slightly cool to the touch (around 65°F if you want to get nerdy about it).
Here are the best ways I’ve found to get there in a hurry.
Method 1: The Warm Glass Trick (My Absolute Favorite)
This is the method I use 90% of the time. It is brilliant, practically foolproof, and requires zero elbow grease.
What you need:
- A tall glass (a standard Pyrex glass measuring cup or a wide Mason jar works perfectly)
- Boiling water
- A plate
How to do it:
- Stand your rock-hard stick of butter upright on a small plate. Leave the wrapper on or take it off; it doesn’t really matter, but I usually take it off so it’s ready to go.
- Fill your tall glass or Mason jar with boiling water (I just use my electric kettle).
- Let the hot water sit in the glass for about 2 to 3 minutes. You want the glass itself to get very warm.
- Carefully dump the hot water out of the glass into the sink.
- Crucial step: Quickly dry the inside of the glass with a dish towel. If you skip this, the steam will turn to water and you’ll end up with wet butter. Gross.
- Invert the warm, empty glass directly over the stick of butter, covering it completely.
Why it works: The warm glass creates a little heated micro-climate—basically a tiny sauna for your butter. Because the heat is trapped but not overwhelmingly intense, it softens the butter gently and evenly from the outside in. Leave it for about 5 to 7 minutes, and you’ll have perfectly softened butter ready for your mixer.
Method 2: The Box Grater Hack (The Speedy Mess)
If I don’t feel like waiting for water to boil, I reach for my trusty stainless steel box grater. This method is incredibly fast, though it does leave you with an annoying dish to wash afterward.
What you need:
- A standard cheese grater
- A bowl
How to do it:
- Keep the butter wrapper on the bottom half of the stick so your warm hands don’t melt it while you hold it.
- Grate the cold butter using the largest holes on your box grater, letting the shreds fall directly into your mixing bowl.
- Spread the shreds out a bit in the bowl and let them sit for about 2 to 3 minutes.
Why it works: This is simple science: surface area. By turning a thick block of butter into tiny, thin shreds, the room temperature air can warm it up almost instantly. By the time you’ve measured out your flour, baking soda, and salt, those butter shreds will be perfectly soft and ready to cream with your sugar.
A quick warning: Washing a butter-coated cheese grater is a pain. Make sure you use super hot water and plenty of Dawn dish soap to cut through the grease!
Method 3: The Rolling Pin Smash (The Stress Reliever)
If you’ve had a long week and need to take out a little frustration, this is the method for you.
What you need:
- A rolling pin (I prefer a heavy wooden French rolling pin)
- Two sheets of parchment paper or a large Ziploc bag
How to do it:
- Place your unwrapped stick of cold butter between two large sheets of parchment paper. (If you don’t have parchment, toss it into a gallon-sized Ziploc bag and leave it unzipped).
- Grab your rolling pin and start whacking the butter a few times to flatten it out.
- Once it’s a bit flatter, start actually rolling it out like you would a pie crust, until the butter is about a quarter-inch thick.
- Peel the butter off the paper or bag. It will be completely pliable.
Why it works: The friction from hitting and rolling the butter warms it up, and just like the grater method, thinning it out helps it reach room temperature in just a few minutes. I love this method when I’m making a big batch of buttercream frosting and need three or four sticks softened at once.
Method 4: The Microwave Steam Room (The Hands-Off Approach)
I know I spent the beginning of this article bashing the microwave, but there is exactly one way to use your microwave safely to soften butter. You just don’t actually turn the microwave on while the butter is in it.
What you need:
- A microwave-safe bowl
- Water
How to do it:
- Pour about two cups of water into a microwave-safe bowl.
- Heat the water in the microwave for 3 to 4 minutes until it is boiling and producing a lot of steam.
- Open the microwave, carefully push the bowl of hot water to the back corner.
- Place your plate of cold butter right in the center of the microwave and immediately close the door.
- Do not turn the microwave on. Just let the butter sit in the closed microwave with the steaming water for about 10 minutes.
Why it works: You are essentially turning your microwave into a proofing box. The ambient, radiant heat from the steaming water gently warms the small, enclosed space, softening your butter evenly without any direct radiation melting the fat.
Common Mistakes to Avoid
Through my years of baking trials and errors, I’ve seen pretty much every butter disaster. If you want perfect baked goods, avoid these common traps:
Trusting the “Defrost” Button
Many modern microwaves have a “soften butter” or “defrost” setting. Do not trust them. Every microwave wattage is different, and the way they cycle heat is unpredictable. More often than not, the center of the stick will stay cold while the edges melt away.
The Stovetop Danger Zone
Sometimes people put their butter in a bowl and set it on the back of the stove while the oven preheats. I’ve done this. It usually results in the bottom half of the butter turning to liquid while the top stays firm. It’s too direct of a heat source.
Forcing Cold Butter in the Mixer
I once tried to just toss cold, cubed butter into my KitchenAid stand mixer, thinking the paddle attachment would eventually beat it into submission. Not only did my mixer violently clunk around and nearly jump off the kitchen counter, but the butter just stayed in cold, hard little pebbles coated in sugar. It never creamed properly, and my cookies were dense and heavy. Take the extra five minutes to use one of the softening hacks above.
Conclusion
Baking is supposed to be fun, not stressful. Forgetting to take the dairy out of the fridge is a mistake that every single home baker makes, whether they’ve been baking for two months or twenty years.
The next time you get that sudden weekend urge to whip up a batch of brownies or frost a cake, don’t let a cold stick of butter stop you in your tracks. Grab a glass, boil some water, and give it a little steam bath. Your cookies (and your sanity) will thank you.
Do you have a different trick you use when you’re in a pinch? I’m always testing new kitchen hacks, so let me know what works in your kitchen!